
How to Bulk Update Shopify Product Descriptions (CSV)
Upload your Shopify export to MerchantFloor and get back an import file with new descriptions, SEO fields and tags, without touching prices or variants.

To bulk update Shopify product descriptions with MerchantFloor, export your products from Shopify and upload the file to MerchantFloor as it is. You get back a Shopify import file with a new description, SEO title, SEO description and tags for every product. Import it with Overwrite products with matching handles ticked, and only those fields change: prices, stock, images and variants stay as they are.
We built bulk upload into the MerchantFloor product description tool for this job. It writes the descriptions and builds the import file, so you never edit the spreadsheet yourself.
How do I bulk update Shopify product descriptions with MerchantFloor?
Export your products from Shopify. In your Shopify admin, go to Products > Export, choose all products or just the ones you selected or filtered, and click Export products. For all products, Shopify emails the file to you (Shopify Help Center). Keep this original file: re-importing it is how you put the old descriptions back.
Upload the export as it is. Open the product description tool, switch to Bulk Upload and add the file. Don't open and save it in Excel or another spreadsheet app first, and don't delete any rows or columns. MerchantFloor recognises a Shopify export and shows how many products it found.
Choose your settings. Pick a tone and a language; every product is written in that language. Tick Only products without a description if you only want to fill the empty ones. Titles stay as they are unless you tick Replace product titles, and product URLs never change. FAQs are added to each description unless you untick Include FAQs.
Check the credits and submit. Each product uses one credit, and you see the total before you submit. Products that fail aren't charged. One job takes up to 1,000 products, so export bigger catalogs in batches.
Read the report. When the job finishes, your dashboard has two files: the Shopify import file and a full report. The report shows each old and new description side by side, with suggested titles and any products that failed. Check the details only you know, like material, sizes and what's in the box. If a description needs changing, edit that product in Shopify after the import.
Import the file into Shopify. Go to Products > Import, click Add file, tick Overwrite products with matching handles, click Upload and continue, review the summary, then click Import products (Shopify Help Center). Import it soon after your export. If you've added or renamed variants, deleted products or changed product URLs in the meantime, export again and start a new job.
Check a few products on your store. Look at the formatting on a phone, and confirm prices, images and variants are unchanged.
What does the import file change?
Only the description, SEO fields and tags. Everything else on the product stays as it is.
Field | What happens |
|---|---|
Description | Replaced with the new HTML description, with FAQs if you kept them on |
SEO title and SEO description | Replaced with new ones |
Tags | Your existing tags stay, and 5 to 10 new tags are added after them |
Title | Kept, unless you ticked Replace product titles |
URL handle | Never changes |
Variants and options | Kept. The file repeats each variant's option values exactly as exported |
Prices, stock, SKUs and images | Not in the file, so they don't change |
This matters because of how Shopify's overwrite import works. Columns left out of the file keep their current values, but if the option columns are missing, Shopify deletes the product's variants and creates one default variant (Shopify Help Center). Shopify's Tags column also replaces every tag, so dropping your existing tags would break tag-based collections. Products that failed in the job aren't in the import file, so they keep their current description.
How do I test it first?
Export two or three products, including one with variants, by selecting them before you export. Run them as a small job, which uses two or three credits, and import that file. Check them on your phone, then run the rest of your catalog.
What goes wrong, and how do I fix it?
Problem | Likely cause | Fix |
|---|---|---|
Import says it worked, but nothing changed | Overwrite products with matching handles wasn't ticked | Import the file again with the box ticked |
Shopify shows errors, or products don't match | Products, variants or URLs changed after your export | Export again and start a new job |
Strange characters or shifted columns | The export or import file was opened and saved in a spreadsheet app | Upload a fresh export, or download the import file again and import it without opening it |
Fewer products than expected | Only products without a description was ticked, or some products have no title or description | Untick the option, or add a title to those products in Shopify |
A product kept its old description | It failed in the job, so it isn't in the import file | Check the report for the reason and run it again; failed products aren't charged |
Checklist before you import
Original export saved and untouched
Export uploaded to MerchantFloor as it came from Shopify
Report read, and descriptions checked against the real products
Import file not opened or saved in a spreadsheet app
No products, variants or URLs changed since the export
Overwrite products with matching handles ticked
Test batch of two or three products checked on a phone
Where do the new descriptions come from?
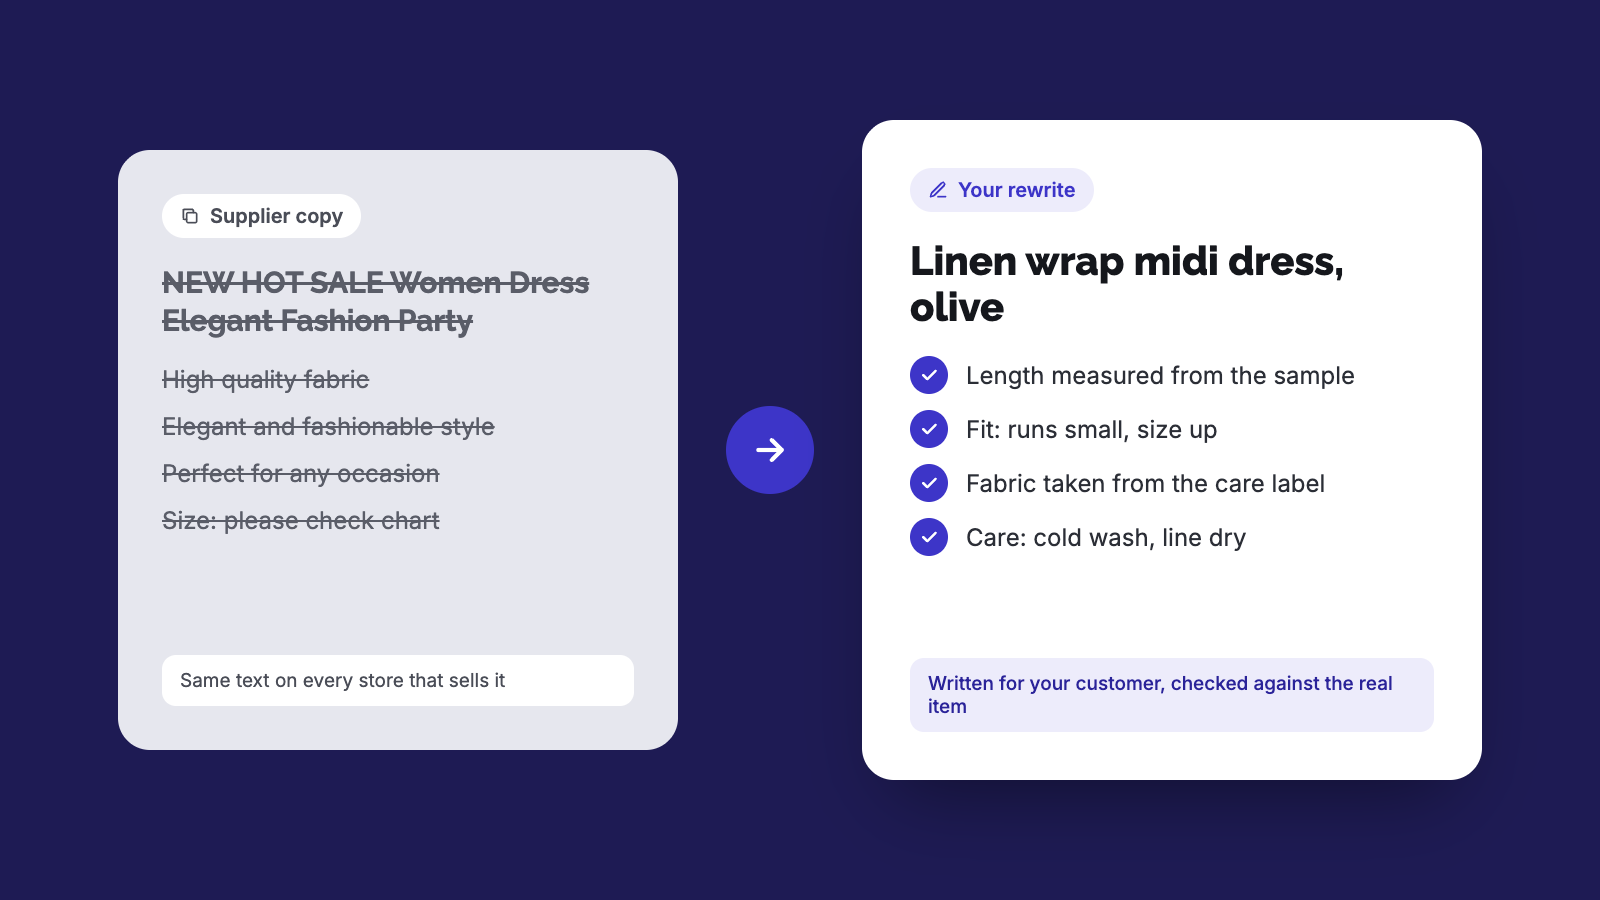
For each product, MerchantFloor reads the title, current description, product type, variant options and first product photo. AI writes the new description from the photo and those details, so products with no description yet still get one. We cover what a good description includes in the product description guide, and the supplier rewrite post covers replacing copied supplier text.
Not on Shopify?
Upload a CSV with one product per row instead. Only a productDescription column is required, and you can add productName, keywords, imageUrl, category, targetAudience and productID. You get a title, SEO title, description, meta description and tags for each product to use on any storefront or marketplace.
Prefer to edit descriptions yourself?
Shopify has two free options: the bulk editor for quick changes across a few products, and CSV export and import for editing the file by hand. If you edit the CSV yourself, keep the option columns in the file and don't leave blank cells in the columns you keep. Shopify treats a blank cell as an instruction to clear that field.
Frequently Asked Questions
Share this article
Related Articles
How to Rewrite Supplier Product Descriptions with AI (Steps)
Copied supplier text won't get your store penalized, but it won't rank or sell either. Here's a step-by-step way to rewrite it and check the specs.

5 ways MerchantFloor helps you launch your next product line

On-Page SEO for Ecommerce: Tips, Examples & Checklist
A practical guide to on-page SEO for ecommerce: what to change on category and product pages, with a real “floral skirts” example and a checklist.